Drywall Installation & Repair Services

Installation

Below is a detailed step-by-step process that we typically take to bring a drywalling project from start to finish. The timeline provided is only approximate and differs between projects, especially for larger homes.

Stacked drywall panels.

Day 1
Boarding

Tape measured used in drywall and construction.

Boarding is the first step of the installation, which involves hanging sheets of drywall, also known as sheet rocks, gypsum, and plasterboards. If you require additional soundproofing, we can install insulation and resilient channels before boarding.

Day 2
Pre-filling & Taping

Tape measured used in drywall and construction.

Once all the wallboards are hung, we start pre-filling holes left by the drywall screws. Then we move on to taping the seams between plasterboards. These two steps eliminate the visible holes and gaps between the wallboards, but the indentations and seams are still visible.

Applying drywall tape to joint.
Drywaller mudding the ceiling.

Day 3
1st Coat of Mud

Tape measured used in drywall and construction.

Mudding is the process of applying mud, also known as a joint compound, to indentations and seams on drywall to achieve a flat finish. On this day, we apply the first coat of mud, which has to dry before any more work can commence.

Day 4
Sand & 2nd Coat

Tape measured used in drywall and construction.

Provided that the first coat of joint compound is dry at this point, we can start rough sanding before applying the second coat of mud. During sanding, we do our best to reduce and control drywall dust with plastic barriers and vacuum. However, because of how fine the dust is, it is expected to linger in the air for few more days.

Rough sanding with pole sander.
Final sand with sanding sponge.

Last Day
Final Sand or Texture

Tape measured used in drywall and construction.

The last day is when we sponge sand the walls by hand to achieve a flawless, paint-ready finish. The reason why machines aren’t used is to avoid scratching the mud. If you prefer a textured finish, we also offer different types for you to choose from, from a knockdown to popcorn and orange peel. Ceiling texturing will take an additional day. The job is not complete until we do a proper clean-up.

Why Hire a Drywall Professional?

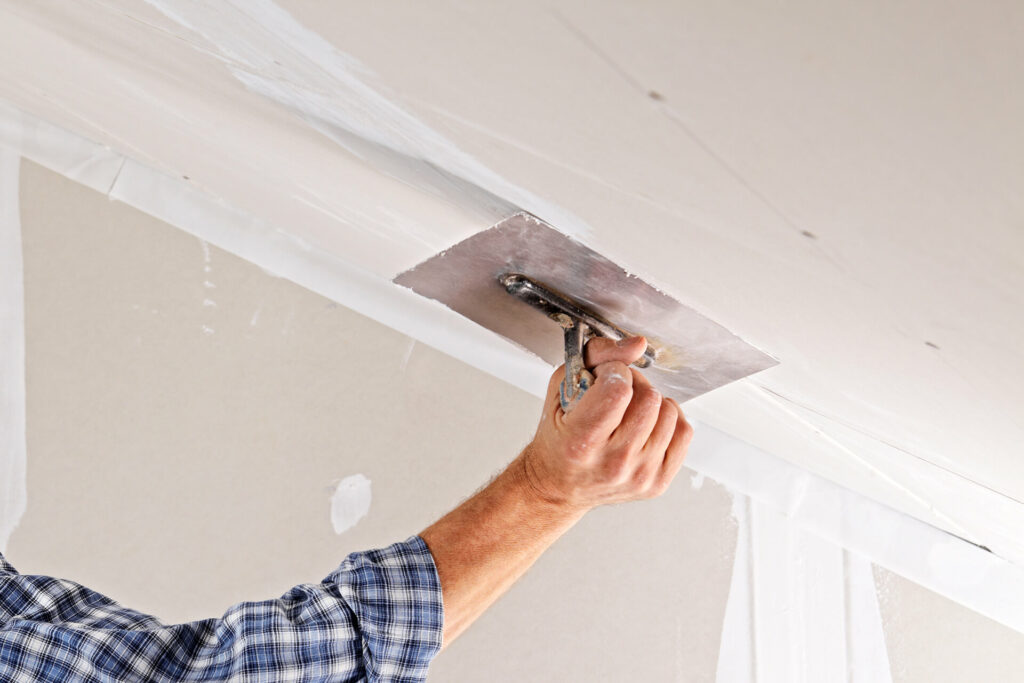
Drywalling is an art that is easy to learn but difficult to master. It takes knowledge, skills, and experience to achieve a flawless finish, especially for ceilings. While DIY enthusiasts can attempt this themselves, hiring a professional like us will ensure your project is completed smoothly, on time, and without contaminating the rest of your home with drywall dust.

Other Services

In addition to installation, we also provide other services such as drywall repair, ceiling refinishing, and custom work.

Damaged drywall ceiling requiring repair.

Drywall & Ceiling
Repair

Tape measured used in drywall and construction.

We repair damages of all types, from small holes to complete replacement due to renovation, flood, or fire. No job is too small. If you need a part of your ceiling repaired and want to match the existing texture, we can do so as well.

Ceiling
Refinishing

Tape measured used in drywall and construction.

The textured ceiling is popular because textures hide imperfections, and it is easier to notice indentations and unevenness in ceilings. However, if you prefer a more modern look, we can refinish your existing textured ceiling to make it flat or textured differently. As an alternative, we also install suspended ceilings.

Removing popcorn ceiling for refinishing.
Interior of custom luxury home.

Custom
Home & Building

Tape measured used in drywall and construction.

Custom homes often incorporate more unique elements such as arches and curved walls that are more involved than just hanging and finishing pieces of flat drywalls. Whatever design you have envisioned, we will be able to bring it to life for you.